How to Teach a Child to Surf: 7-Step Beginner Guide
A practical 7-step guide to teaching a kid to surf, from building excitement and choosing gear to the three-step pop-up and catching their first wave.
Some links on this page are affiliate links. If you buy through them we may earn a small commission, at no extra cost to you — it never affects our verdict. How we make money.
In this article, you'll learn
- How to build a child's excitement before they touch a board
- Which beginner equipment makes wipeouts safer for kids
- What the three-step process for standing up looks like
- How to progress from beach practice to shallow water to catching waves
To teach a child to surf, build their excitement first, get them comfortable on the beach and with a soft-top board, practice the three-step pop-up on land, then progress from shallow water to catching their first waves under close supervision.
Okay, so you want to teach your child (or any child for that matter) the subtle art of riding waves? Well then, you’ve come to the right place! Teaching a child how to surf is arguably one of the greatest gifts you can give. In an age where kids are inundated with technology; spiralling down an endless staircase of nondescript TikToks, or embarking on boundless Fortnite rounds - surfing can offer a healthy repose from a world of pixels. And if they embrace this gift with open arms, overcoming deterrences like wipeouts, cold water (depending on where you live) sand, sunburns and maybe one or two bumps courtesy of the surfboard, then chances are, they’ll find a friend for life! A friend that will be there for the good times, for the bad, a place to wash away the grim from the day, a place of peace and tranquility.
Teaching a child how to surf can be an enjoyable and rewarding experience for both the child and the teacher. However, it requires story telling, patience, proper equipment, and a solid understanding of the fundamentals of surfing. Here are our seven steps to teaching a child how to surf.
Step 1: Start With Story Telling
Step one to teaching a child how to ride waves is to start by raising their froth levels. You need to raise the Mercury levels of a child’s frothometer! Surfing isn’t something you so happen to be doing like going to the movies or something. It’s a lifestyle. It’s a way of living. So how do you raise the frothometer? Easy, through storytelling! Get a bunch of your mates together and purposefully move the conversation to the telling of surf stories (while the kids are around of course). Talk about that time you and your mates went on surf trips together and got great waves camping in the wilderness. Exchange stories of how you took on and conquered beasts from the ocean’s depths. About that late drop into barrel you once made. Tell tales that add to the adventure and mysticism of surf culture. Let them acquire the heart and soul of surfing before they ever step on a surfboard.
Don’t surf, but still want to impart the heart and soul of surf culture? Then watch several travel and surf movies like Endless Summer II or read surf books before bedtime.

The Endless Summer II DVD available on Amazon
Step 2: Get Them On the Beach
Before you introduce a child/your child to riding waves, take to the beach. Get them used to the beach; the sound of the ocean, the feel of beach sand underfoot, the way the ocean moves, the force of the waves, that salty feel post ocean swim. If possible, find a stretch of beach with a group of kids, or simply take a group of kids to the beach at the same time. A crowd attracts a crowd and it’s the same with children - kids enjoying the ocean will encourage other kids to do the same. Get children into beach culture before you introduce surfing. That way, when it comes time to stand on a moving piece of foam, they will be far more prepared.
Step 3: Get the Right Equipment
You want to create as softer entry into the world of surfing as possible. No hard landings here. It’s like when you take your child to an amusement park, you don’t take your child to the wildest rollercoaster on the map. No, you start off with children’s rides. The rides with cardboard cutouts of Mickey Mouse and Humpty Dumpty strewn in the surrounding vegetation. A soft landing means adorning your child with the correct equipment. A beginner’s surfboard should be relatively small, lightweight, and easy to maneuver. Soft-top surfboards are ideal for children to learn on. They are buoyant, making it easy to stand on and are furnished with soft edges, greatly reducing injury upon wipeout. Depending on water temperature in your region, acquire a snug wetsuit to keep said child warm and comfy.
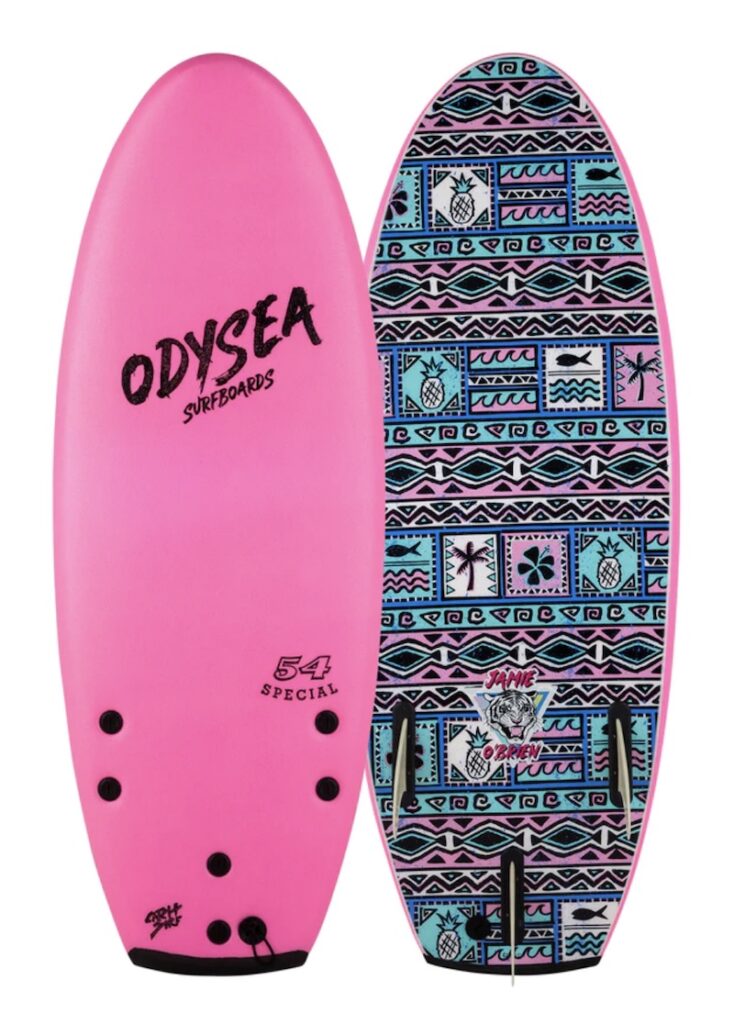
Odysea Soft-top 5'4
Mick Fanning Little Marley Softboard
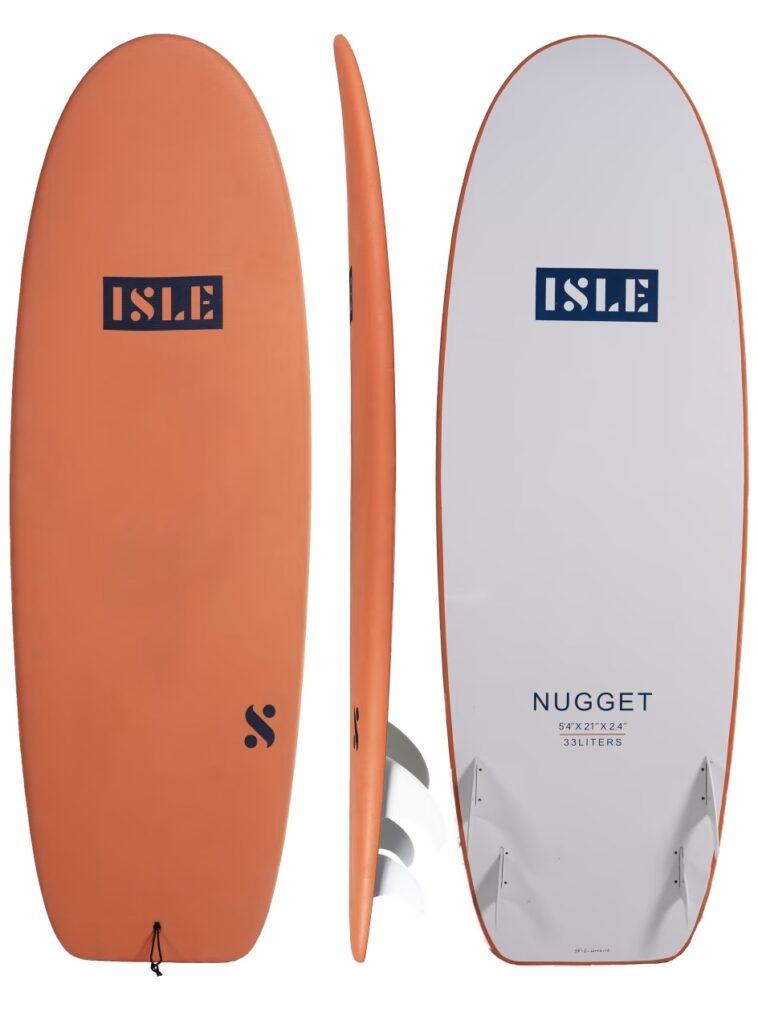
Isle Soft Top Surfboard 5'4
Step 4: Choose Your Beach Wisely
Soft entry is the name of the game! What you’re looking for is a beach with a gentle bottom slop that produces spilling breakers. Here’s a quick oceanography lesson to explain what we mean:
There are three main types of waves: spilling, plunging, and surging. These are related to the steepness of the bottom, and how quickly the wave loses energy and slows down.
• Spilling breakers form on gently sloping or flatter beaches, where the energy of the wave is dissipated gradually. The wave slowly increases in height, then slowly collapses on itself. For surfers, these waves provide a longer ride, but they are less exciting.
• Plunging breakers form on more steeply-sloped shores, where there is a sudden slowing of the wave and the wave gets higher very quickly. The crest outruns the rest of the wave, curls forwards and breaks with a sudden loss of energy. Steeply-sloped shores produce barreling waves.
• Surging breakers form on the steepest shorelines. The wave energy is compressed suddenly right at the shoreline, and the wave breaks straight onto the beach.
Step 5: Start on the Beach
Before hitting the water, it is important to start on the beach. This gives the child a chance to become familiar with the surfboard and understand its balance. You can you use this as an opportunity to teach the child about the surfboard. Show them the fins, the rails, nose and tail. Teach them about the leash and what leg it should go on: back foot.
Start by having the child lie on the board and practice a three-step process to standing up:
Step one: Lie down and paddle.
Step two: Straighten your arms lifting your head and back off the board.
Step three: Bring your front foot forward, placing it under your chest before standing up.
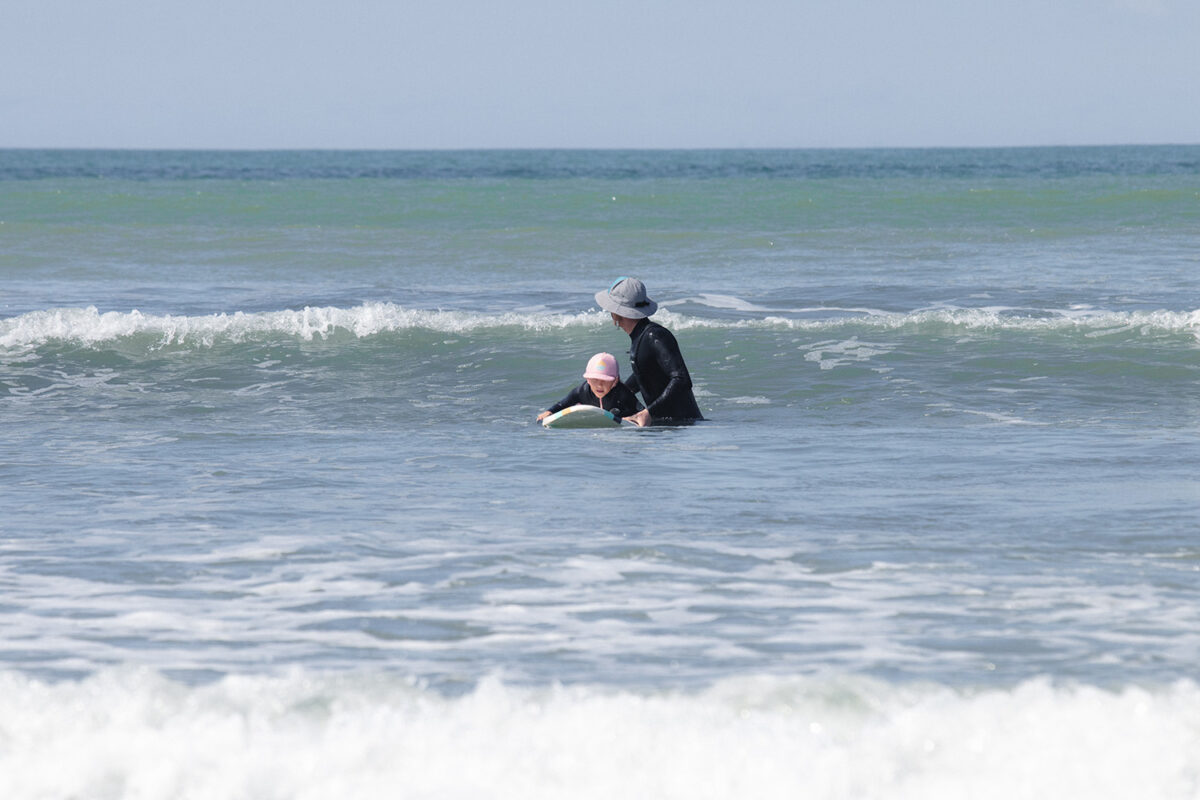
Step 6: Practice in Shallow Water
Once the child is comfortable with the board on the beach, it’s time to head into the water. Start by entering shallow water where the child can stand up without the need for swimming. Have the child hold the board in the shallows and push into several waves while lying on the surfboard without standing. This will allow the child to acclimatize to the feeling of catching waves by him/herself. Once the child gets the feel of pushing into waves and surfing them lying down. The next step would be to push into waves and use the three-step process to stand up. Once a child is comfortable doing this, you can then graduate to deeper waters.
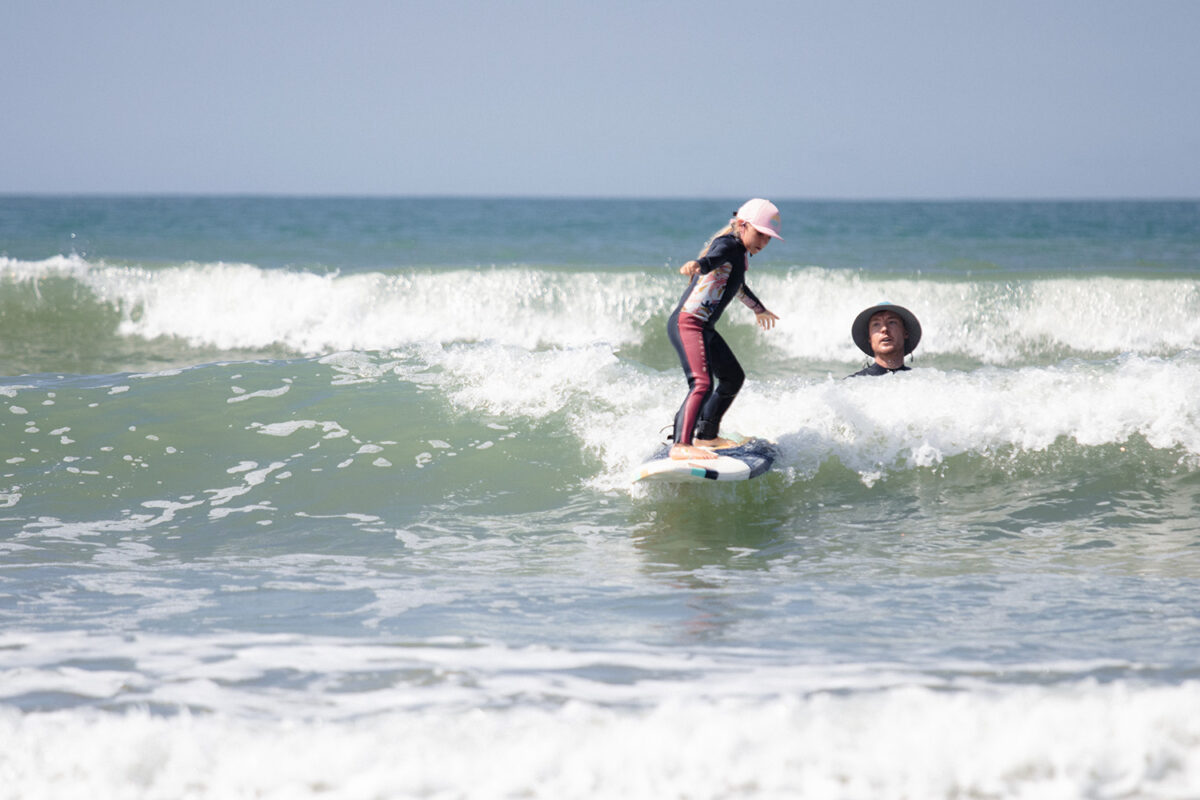
Step 7: Catching a Wave
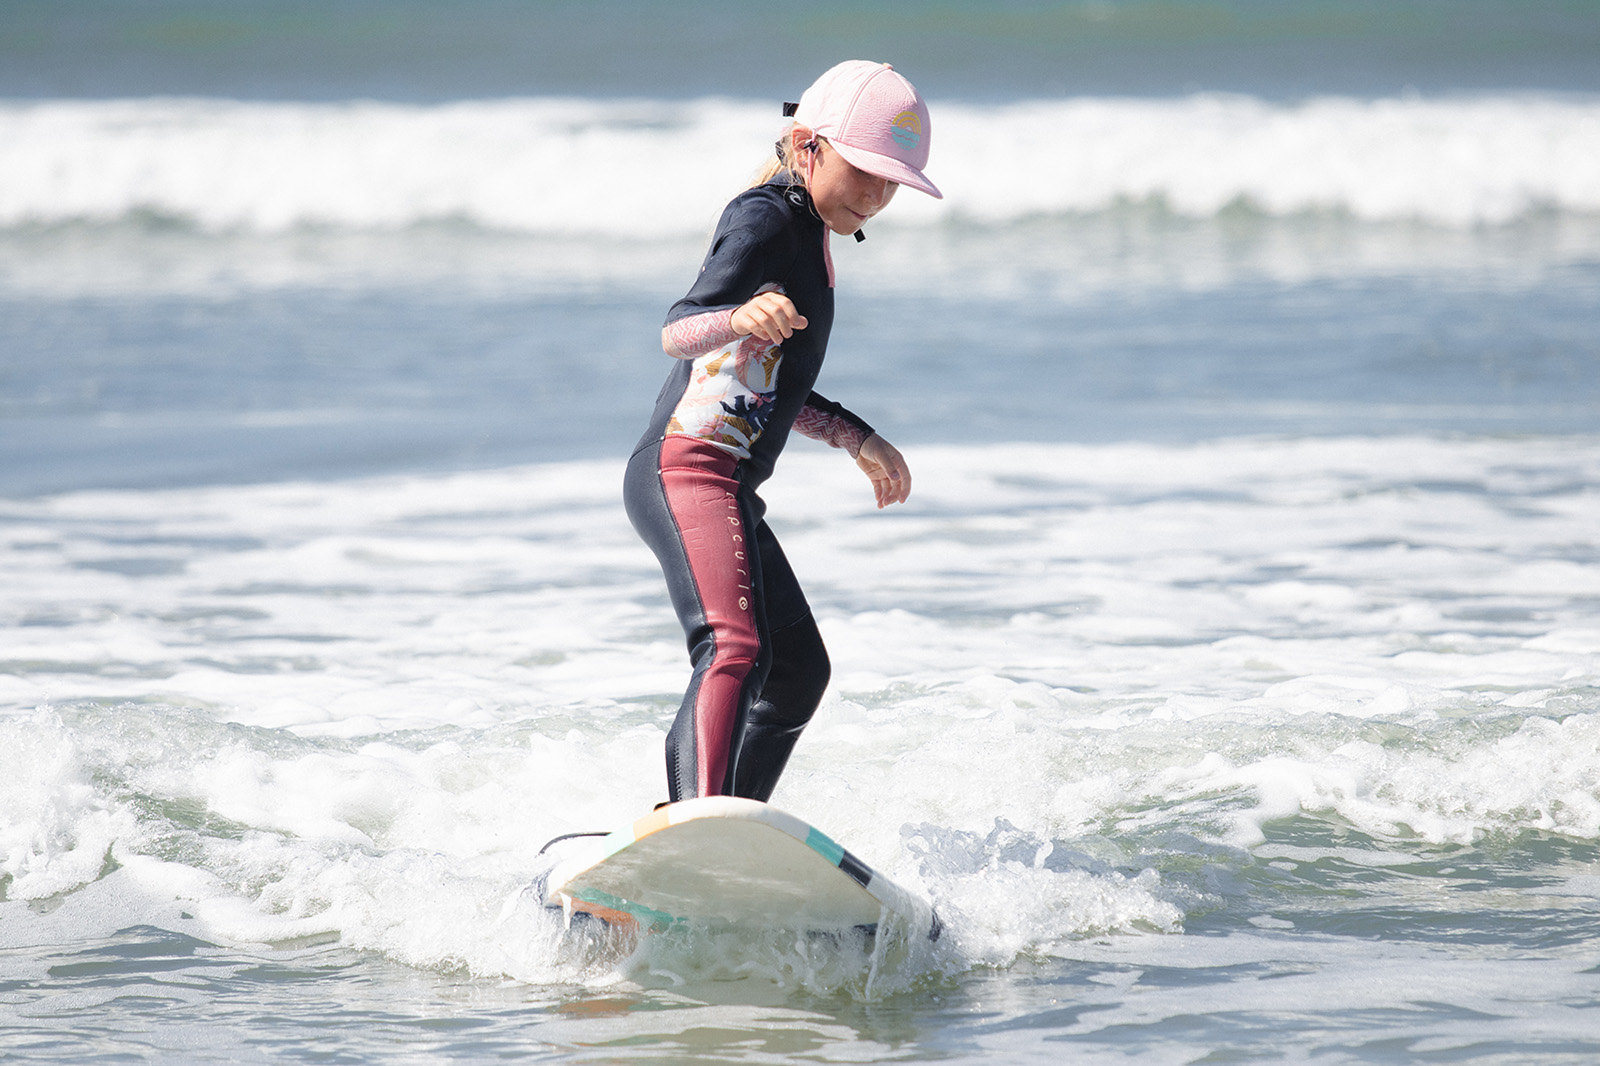
So your child (or the child you’re teaching) has made it to the backline and is ready to paddle into a wave by him/herself. This is where the rubber hits the road. Or in this case, the fins hit the surf. This is the pinnacle of all those months of hard work; the surf story telling, the time on the beach and the equipment preparation. This is where it all pays off (or doesn’t)! Start by having the child paddle toward the beach as a wave approaches. When the wave is close enough, the child should start paddling harder to meet the speed of the wave. The child should then pop up to their feet using the previously describe three-step process and ride the wave (hopefully) all the way to the beach.
Remember: Learning to surf is a gradual process and it takes time and practice to develop the skills needed to become a confident surfer. It is important to encourage the child to keep practicing, even if they are not getting it right at first. With time, they will develop their balance, coordination, and strength, and be able to catch more waves and surf for longer periods of time.
Tips and Tricks
Here are some tips and tricks to help make the experience of teaching a child how to surf as smooth and safe as possible:
-
Start Small: Start with small, slow-moving waves and gradually work your way up to larger and faster waves as the child becomes more confident and skilled.
-
Stay Close: Stay close to the child at all times, both in and out of the water, and be prepared to offer assistance if needed.
-
Take Breaks: Surfing can be physically demanding, so be sure to take breaks when needed, and encourage the child to rest when they start to feel tired.
-
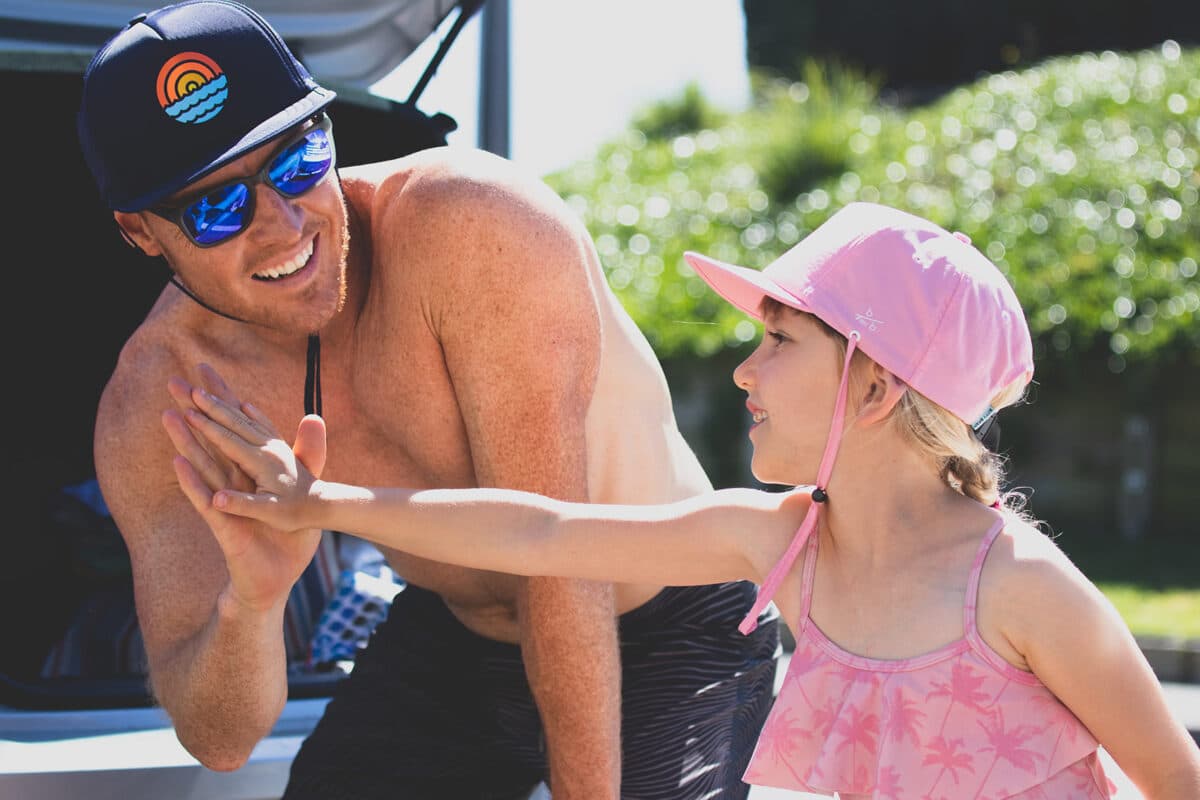
Use Positive affirmation to encourage a child.
Frequently asked questions
- What's the best surfboard for a child learning to surf?
- A soft-top surfboard is ideal for kids because it's buoyant, easy to stand on, and has soft edges that reduce injury risk during wipeouts.
- What are the three steps for a child to stand up on a surfboard?
- First, lie down and paddle. Second, straighten the arms and lift the head and chest off the board. Third, bring the front foot forward under the chest before standing up.
- What type of beach is best for teaching a child to surf?
- Look for a beach with a gentle, gradually sloping bottom that produces spilling breakers, since these waves lose energy slowly and give a softer, more forgiving learning environment than steep, plunging or surging breaks.
- How do you start teaching a child to surf before they're even in the water?
- Start on the beach: let them handle the board on the sand, learn its parts (fins, rails, nose, tail, leash), and practice the pop-up motion before ever paddling out.